概述
GitLab 是利用 Ruby on Rails 一个开源的版本管理系统,实现一个自托管的 Git 项目仓库,可通过 Web 界面进行访问公开的或者私人项目。它拥有与 Github 类似的功能,能够浏览源代码,管理缺陷和注释。可以管理团队对仓库的访问,它非常易于浏览提交过的版本并提供一个文件历史库。团队成员可以利用内置的简单聊天程序(Wall)进行交流。它还提供一个代码片段收集功能可以轻松实现代码复用,便于日后有需要的时候进行查找。
基于 Docker 安装 GitLab
GitLab 官网 Docker Hub 下载地址:https://hub.docker.com/r/twang2218/gitlab-ce-zh
我们使用 Docker 来安装和运行 GitLab 中文版,配置版本为最新版 11.1 版。(由于新版本可能会有问题,我们也可以使用目前相对稳定的 10.5 版本)
docker-compose.yml 配置如下
1 | version: '3' |
安装完成后的工作
- 访问地址:http://ip:80
- 端口 80 是因为我在配置中设置的外部访问地址为 80,默认也是 80
- 初始化安装完成后效果如下:
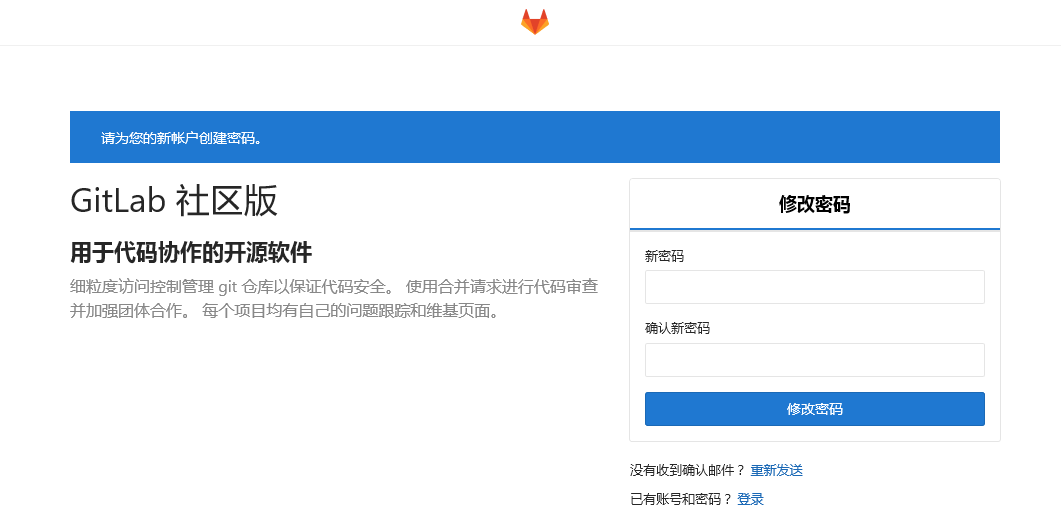
- 设置管理员初始密码,这里的密码最好是 字母 + 数字 组合,并且大于等于 8 位
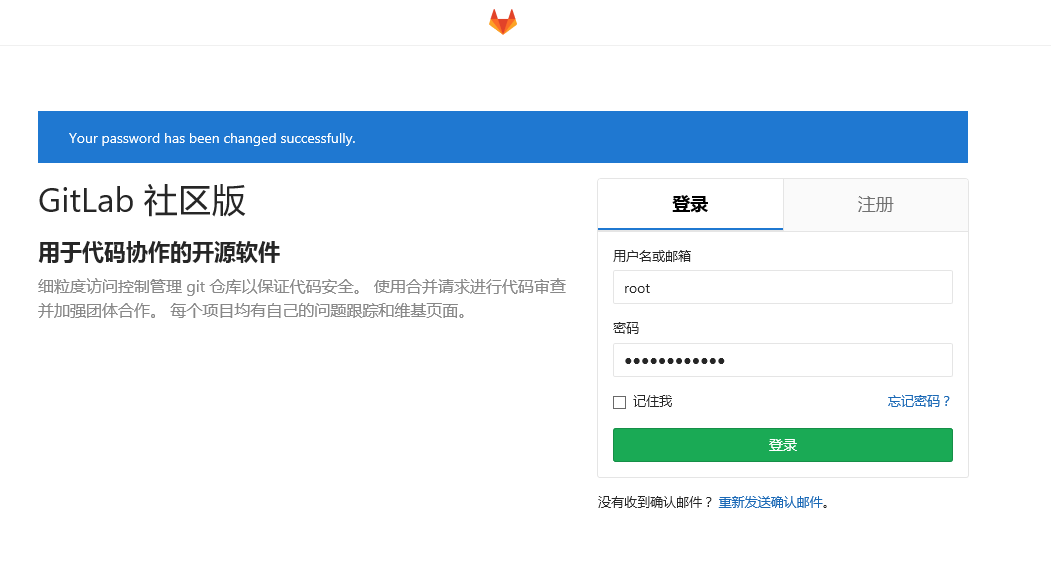
- 配置完成后登录,管理员账号是 root
注意: 如果服务器配置较低,启动运行可能需要较长时间,请耐心等待
If you like this blog or find it useful for you, you are welcome to comment on it. You are also welcome to share this blog, so that more people can participate in it. If the images used in the blog infringe your copyright, please contact the author to delete them. Thank you !