概述
Nexus 是一个强大的仓库管理器,极大地简化了内部仓库的维护和外部仓库的访问。
2016 年 4 月 6 日 Nexus 3.0 版本发布,相较 2.x 版本有了很大的改变:
- 对低层代码进行了大规模重构,提升性能,增加可扩展性以及改善用户体验。
- 升级界面,极大的简化了用户界面的操作和管理。
- 提供新的安装包,让部署更加简单。
- 增加对 Docker, NeGet, npm, Bower 的支持。
- 提供新的管理接口,以及增强对自动任务的管理。
基于 Docker 安装 Nexus
GitLab 官网 Docker Hub 下载地址:https://hub.docker.com/r/sonatype/nexus3
我们使用 Docker 来安装和运行 Nexus,配置版本为最新版 3.18 版。
docker-compose.yml 配置如下
1 | version: '3.1' |
注意:启动时如果出现权限问题可以使用:
1 | chmod 777 /usr/local/docker/nexus/data |
赋予数据卷目录可读可写的权限
登录控制台验证安装
- 访问地址:http://ip:8081 (默认端口号8081)
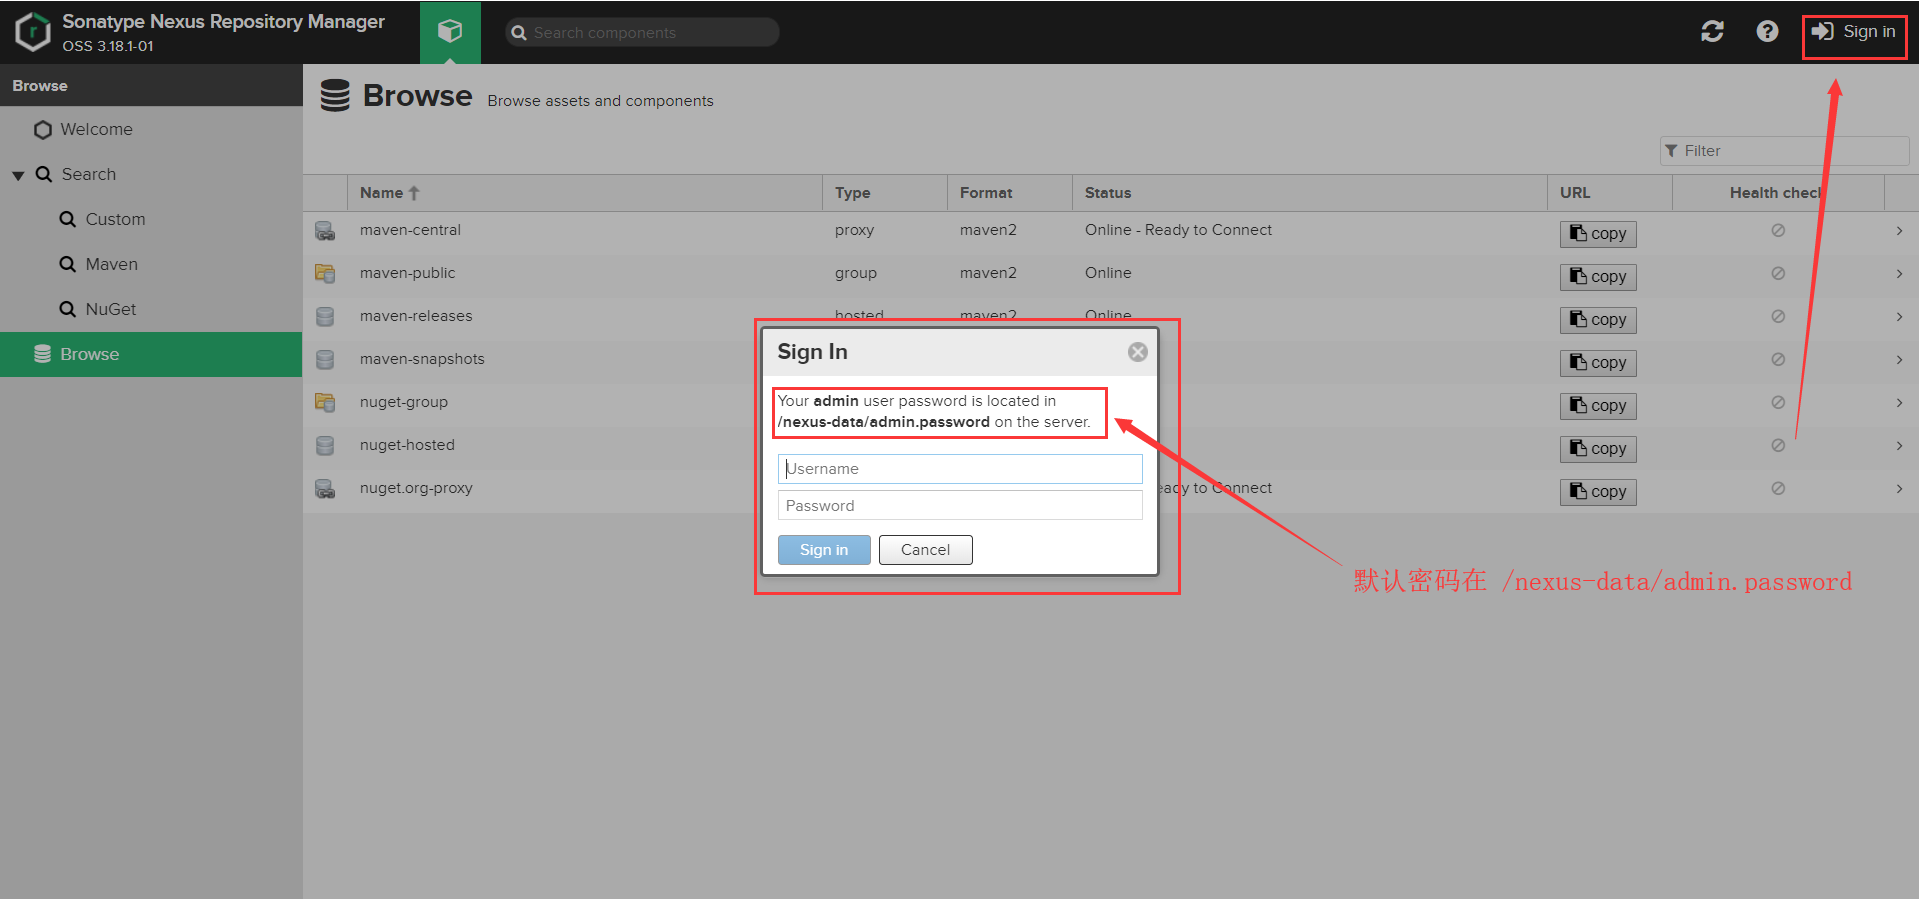
- 默认用户名:
admin,默认密码在/nexus-data/admin.password内(老版本默认密码:admin123)
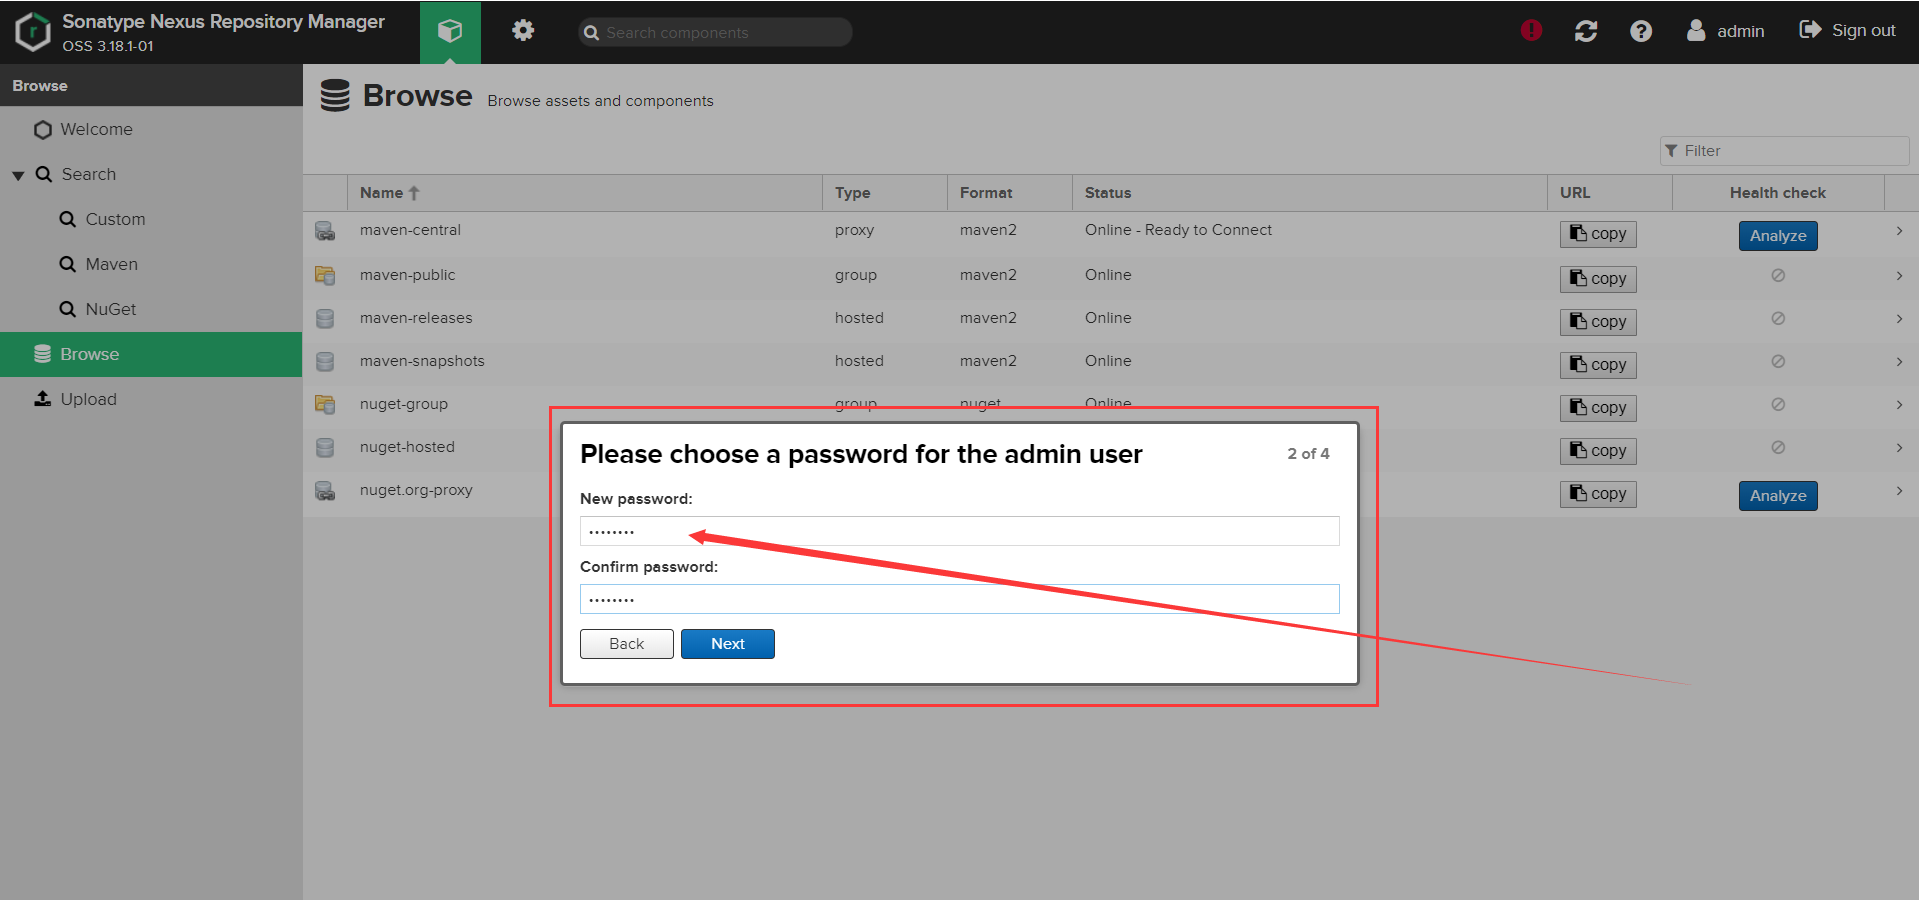
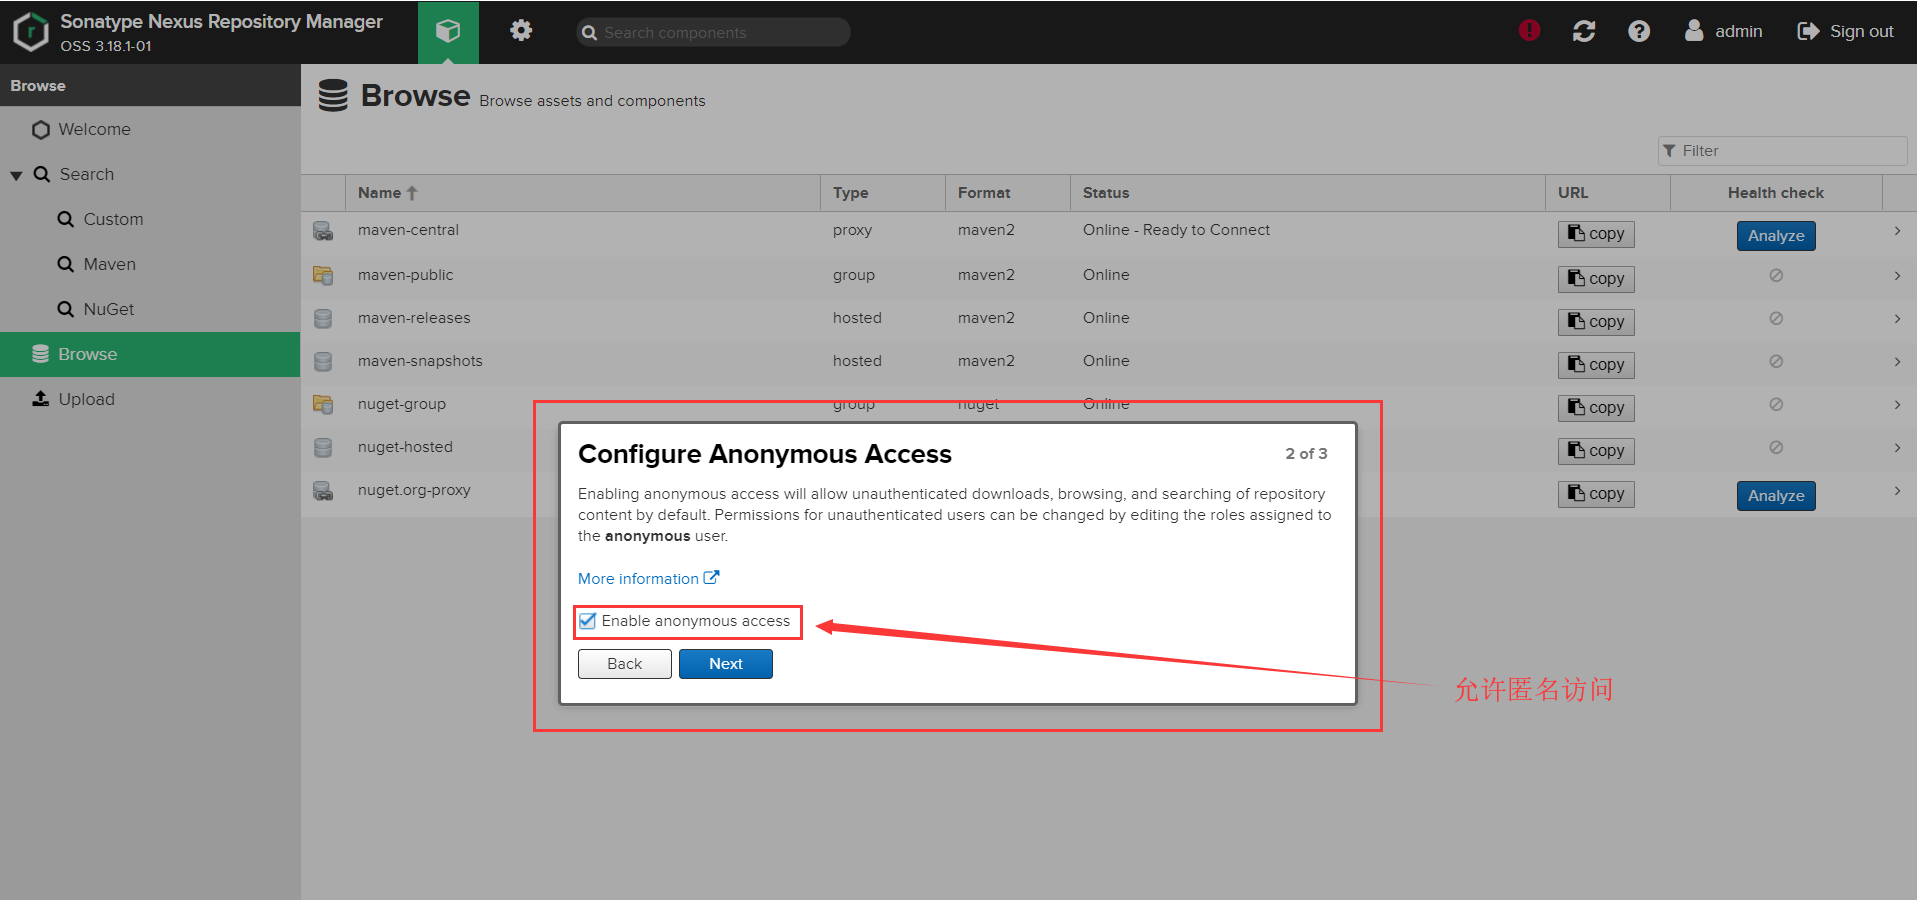
初始化设置
- 重设密码
- 允许匿名访问
If you like this blog or find it useful for you, you are welcome to comment on it. You are also welcome to share this blog, so that more people can participate in it. If the images used in the blog infringe your copyright, please contact the author to delete them. Thank you !